LWM2M FOTA and Data Demonstration System
Todo
add binary install instructions for all boards
Todo
add autogenerated flash layout for all boards
Warning
Technology demonstration system only.
While the system described below works as documented, it may be unstable, and its behavior may change in the future.
Overview
This page documents how to set up and use an end-to-end IoT demonstration system using OMA Lightweight M2M (LWM2M). The system contains Zephyr-based IoT devices, an IoT gateway, and a web application, Leshan, that is used as the LWM2M server. With Leshan you can issue commands, query data and perform firmware over the air (FOTA) updates on the IoT device(s).
A block diagram of this system is shown here, and though it is not explicitely shown, one or more IoT devices can connect to the network through the same gateway.

Using this demonstration system, you can:
- See live data readings from your devices using the Leshan Web application.
- Send commands to the device, such as turning on and off the USR LED.
- Use Leshan to transfer the firmware image onto an IoT device and then initiate a firmware update.
Get the Hardware
To set up this system, you will need a Linux or macOS workstation computer, one or more IoT devices, and an IoT gateway.
We currently recommend:
- 96Boards Nitrogen as an IoT device
- 96Boards HiKey as an IoT gateway, with UART Serial Mezzanine for console access
Source for other boards is provided on a best-effort basis.
Prepare the System
This is broken down into the following steps.
- 1. Set up Leshan
- 2. Install the Linux microPlatform
- 3. Set up the IoT Gateway
- 4. Install the Zephyr microPlatform
- 5. Set up the IoT Device(s)
1. Set up Leshan
Required Equipment: workstation which supports Docker.
Start the Linaro Technologies container with the following command:
docker run --restart=always -d -t -p 5683:5683/udp -p 5684:5684/udp \
  --read-only --tmpfs=/tmp -p 8081:8080 \
  --name leshan linarotechnologies/leshan:latest
After running the Leshan container, visit http://localhost:8081/ to load the Leshan web interface.
You can also browse the Security tab:
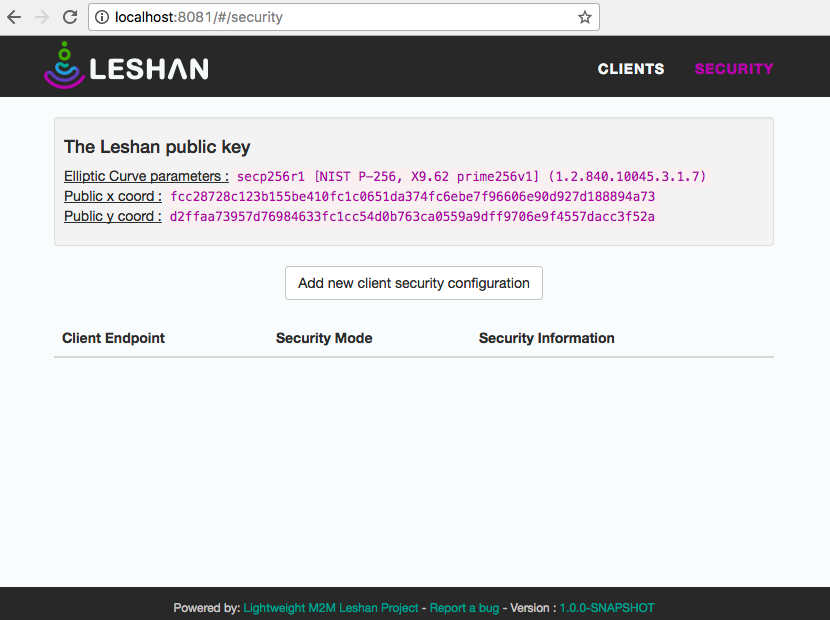
Your Leshan container is now ready for use.
2. Install the Linux microPlatform
Required Equipment: IoT gateway and workstation to flash the board.
Follow the Linux microPlatform Getting Started guide to set up a 96Boards HiKey gateway for container-based application deployment.
If you don’t have a HiKey, the Getting Started Guide contains information for other boards, provided on a best-effort basis.
3. Set up the IoT Gateway
Required Equipment: IoT gateway device and workstation to run Ansible.
You’ll now use Ansible to set up your IoT gateway to act as a network proxy for your IoT device to communicate with the Leshan server you set up earlier.
Follow the Basic IoT Gateway Getting Started guide to log into the Basic IoT Gateway console and change the password for the
osfuser. The default password isosf.Connect your IoT gateway to the network.
You can connect a HiKey to a local WiFi network[1] from its serial console as follows:
sudo nmcli device wifi connect <NetworkSSID> password <NetworkPassword>
After connecting to the network, record the IP address of your gateway, GATEWAY_IP_ADDRESS, which you can obtain when using WiFi with:
ip addr show wlan0 | grep -o 'inet [.0-9]*'
(If you’re using Ethernet,
ip addr showwill show all IP addresses on the system.)If you don’t already have one, you now need to create an SSH key on your workstation. If you’ve never done this before, the GitHub guide to SSH keys has useful instructions.
Copy your SSH key to the gateway in order to control it with Ansible. Do this with
ssh-copy-id:ssh-copy-id osf@GATEWAY_IP_ADDRESS
Use the new password for the
linaroaccount you set earlier.Install Ansible, which will let you install and control containers on your IoT gateway via SSH from your workstation.
Clone the
gateway-ansiblerepository, which contains an Ansible playbook to set up the gateway for this system:git clone https://github.com/OpenSourceFoundries/gateway-ansible
From the
gateway-ansiblerepository, deploy the gateway containers to your IoT gateway:ansible-playbook -e "gitci=WORKSTATION_IP_ADDRESS tag=latest" \ -i GATEWAY_IP_ADDRESS, -u linaro iot-gateway.yml \ --tags gateway
WORKSTATION_IP_ADDRESS in the above command line is the IP address of the system which is running the Leshan server you set up earlier. The comma after GATEWAY_IP_ADDRESS is mandatory.
4. Install the Zephyr microPlatform
Required Equipment: workstation to install the Zephyr microPlatform development environment, and IoT device to test installation.
Follow the installation steps in the Zephyr microPlatform Getting Started guide.
5. Set up the IoT Device(s)
Required Equipment: IoT device and workstation to flash the device.
If you’re using 96Boards Nitrogen, build and flash the demonstration application:
./genesis build -b 96b_nitrogen zephyr-fota-samples/dm-lwm2m
./genesis flash -b 96b_nitrogen zephyr-fota-samples/dm-lwm2m
Flashing this board requires pyOCD. To install:
pip install --user pyOCD
If you don’t have pip installed, see the pip Installation documentation. On Linux platforms, you also need to install the following udev rules as root, then unplug and plug back in any boards you may have connected:
echo 'ATTR{idProduct}=="0204", ATTR{idVendor}=="0d28", MODE="0666", GROUP="plugdev"' > /etc/udev/rules.d/50-cmsis-dap.rules
If you don’t have a Nitrogen, information for other boards is provided on a best-effort basis in Additional IoT Devices.
Use the System
Now that your system is fully set up, it’s time to check that sensor data are being sent to the cloud, and do a FOTA update.
Note
The Leshan user web interface is a simple web application, which does not provide a complete end-to-end device management system. Leshan’s simplicity makes it a perfect demonstration and prototyping system for LWM2M devices.
Retrieve Data
When a device registers with the Leshan server, Leshan will automatically render known object types on the web interface. You can interact with the objects by scrolling and clicking the buttons for the objects.
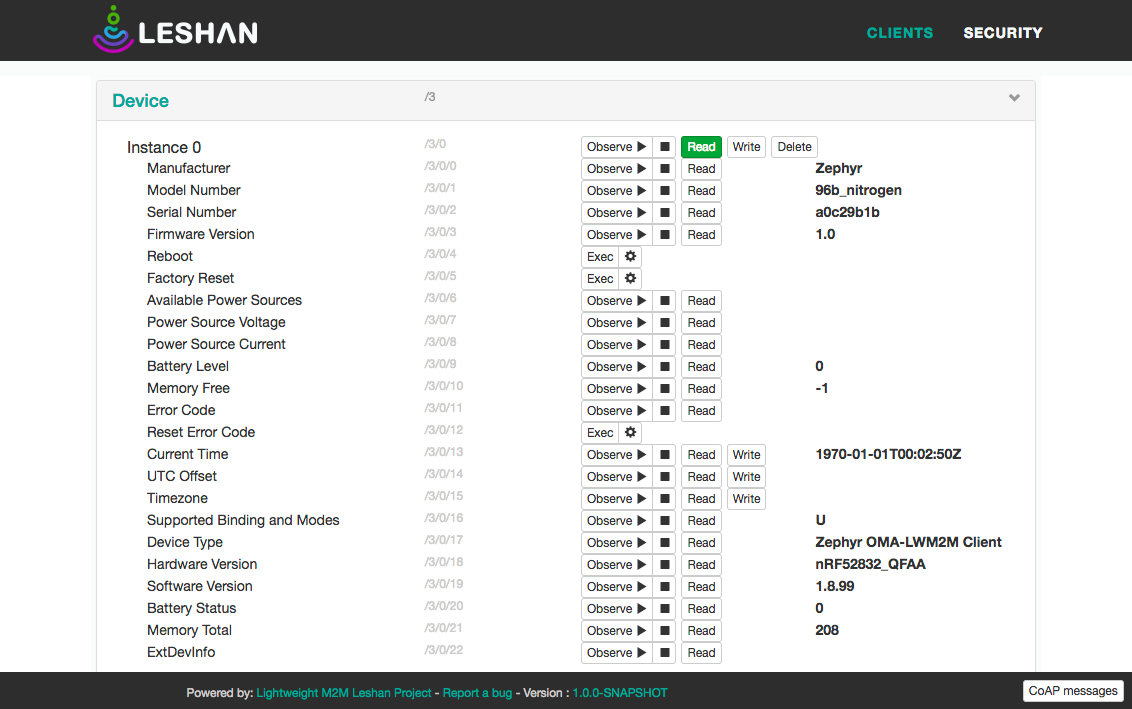
Read device information
To read the device information, simple scroll down to the corresponding device information object and select the ‘READ’ button. If Leshan is able to communicate with your device you will see all of the available device information.
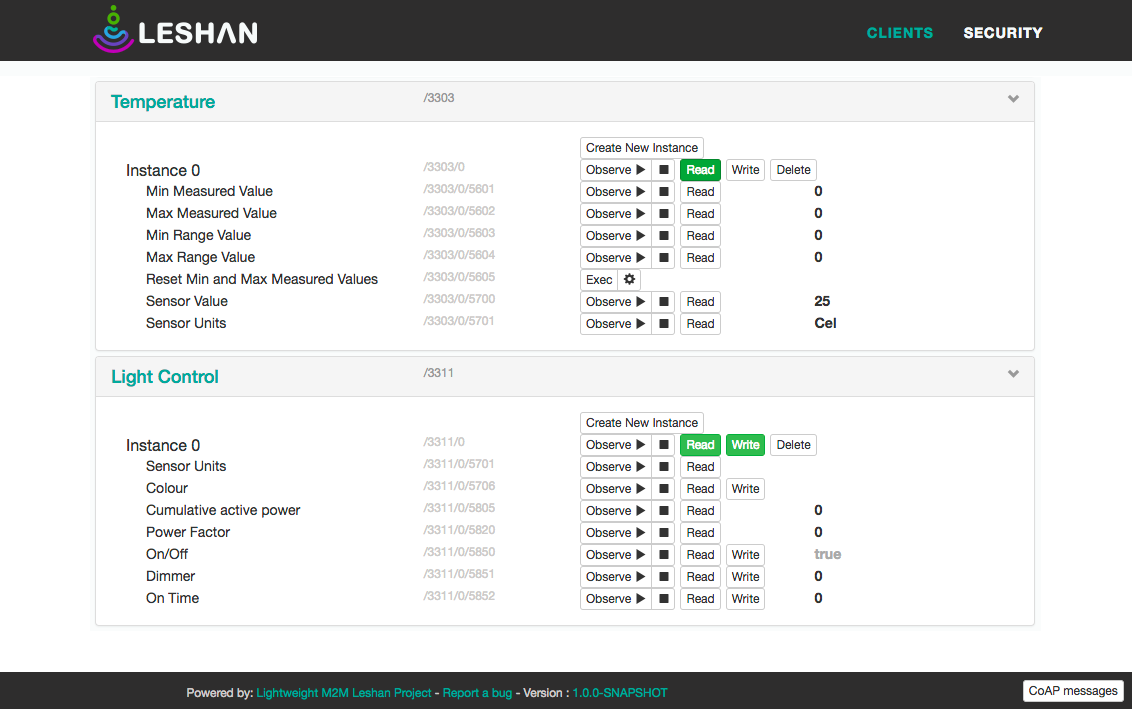
Read current state of temperature and light objects
To read the current status of the Temperature and Light objects, scroll down to the light and temperature objects and select the READ button. You will see the state of these objects on the device similar to this figure.
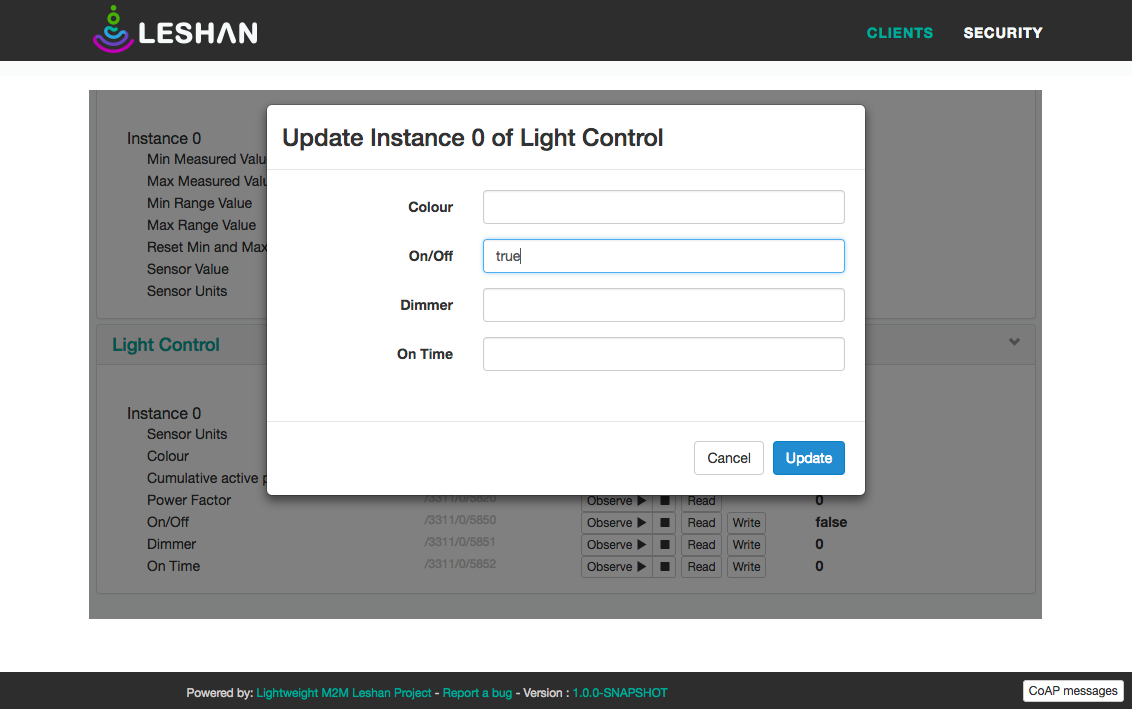
Change state of the light object
To change the state of an object, simply use the leshan interface and select the ‘write’ button to bring up the appropriate interface for changing data.
FOTA Updates
Updating the firmware is provided by the LWM2M firmware update object.
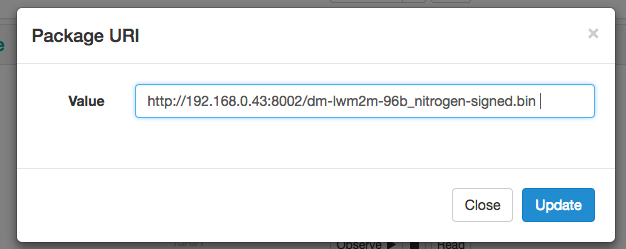
Initiate the firmware transfer
To start the firmware update, we will first ‘write’ the location of the file in the “Package URI” field. Once you send this message, the file will begin transferring to the target.
Note
- the length of the Package URI field must be < 255 characters
- The URI must be hosted where it is routable from your device. The URI can be either coap:// or http://
Monitor the target for a completed transfer
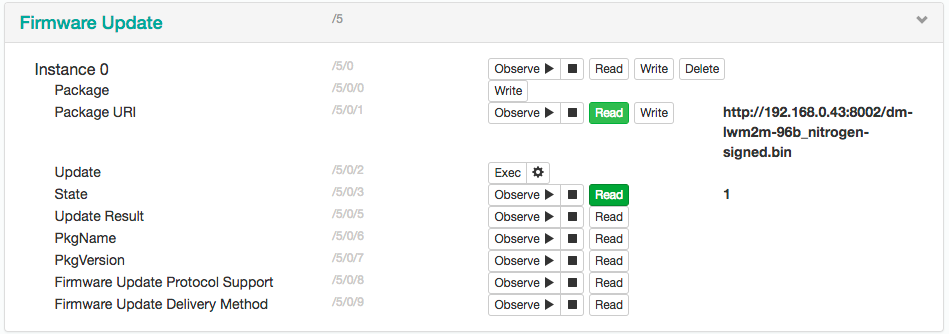
Execute the update and monitor the firmware update state
The state values and their meanings are:
- State == 0: Idle
- State == 1: Downloading
- State == 2: Downloaded
- State == 3: Updating
After the device downloads the update file (State == 2), initiate the update by clicking on the ‘exec’ button.
When the update execution is complete, the device will restart.
Congratulations! You’ve just done your first FOTA update using this system.
Known Issues
Issues and observations are logged within Linaro’s Bugzilla issue tracker.
Footnotes
| [1] | You can also use a USB Ethernet dongle. |